Thursday, July 31, 2014

Another Butterfly from the Milwaukee Public Museum


The latest butterfly from my class' trip to the Milwaukee Public Museum on7-27-14.

The image was taken with a Nikon Df full-frame camera on Aperture Priority with a Sigma 24-105mm f4 DG lens.  Settings were 1/30 sec, f4.5, ISO 500.

Sunday, July 27, 2014

Bad Weather


While I don't normally like pushing HDR to the extreme, I thought this image looked pretty interesting doing it.

After our field trip class to the Milwaukee Public Museum, I stopped by Racine Harbor to try a little fishing. I casted perhaps 8 times and then heard the thunder to my left. I took a look and noticed this view. It would have been nice to look left first before taking my gear out! I packed up my stuff and got back in the car before it started to rain.

Friday, July 18, 2014

George Foreman Grills


I love my George Foreman grills!  I have three "Lean Mean Fat Reducing Grilling Machines"!

Several years ago, I purchased the middle-sized grill in the upper left of the photos via a Groupon Goods deal but recently got two others from my mom.  She had been using the small one in the upper right, but after moving to California, she left her grill at her home in Florida.  My sister and I recently went to Florida to clean up the Florida home and found her grill, along with the largest one that was never used.

My sister purchased the large grill for her many years ago, but she never used it.  It was still in the original box.  Since she probably will not use it going forward, we shipped both grills to Illinois for me to use.

I recently went on a low calorie, low carb diet and am grilling all of my food on the small grill.  I love these grills because it is so fast to cook on!  I just put my food on the grill, close the lid and in about 5 to 8 minutes, the food is done!  No flipping is needed since the top and bottom both cook the food at the same time.  Clean up is a snap too.  I just wet a sponge, suspend the grill over the edge of the sink in the countertop and wipe.  In just about 30 seconds, the grill is clean and I'm ready to eat!

So far, I've lost 12 lbs in about a week and a half.  My goal is to lose 50 lbs by the end of 2014.  We'll see if I can do it, but 12 years ago when I did a low calorie, low carb diet, I lost 30 lbs in 3 months.  Being older now, it may be harder to do, but I'm giving it the ol' college try!  Wish me luck!

Saturday, July 12, 2014

Jake Arrieta - The Pickoff

Jake Arrieta goes for the pickoff...


Another Cubs vs Braves Image

Had to share another image...  While we were really close to the field in the Dugout section just two rows from the field, it just meant we just got to see the players backs!  Be sure to click on the image for a closer view.


Friday, July 11, 2014

Chicago Cubs vs Atlanta Braves - July 11, 2014

Cubs beat the Atlanta Braves in the 9th inning... 5 to 4!

Here is a series of images of Cubs opening pitcher, Jake Arrieta.  The images were taken with a Nikon D700 and Nikon 70-200mm f2.8 VRII lens using a Nikon TC-17 E II teleconverter.

I was sitting in the Dugout Box section of Wrigley Field... Gate F, Aisle DBX19, Row B... the closest I've ever sat at a Major League game!  Just one row back from the edge of the field behind home plate!  I'm shooting through the net behind home plate, but you can't even see it in the images at this focal length.  With the teleconverter on the lens, the effective focal length of the lens became 340mm.

The camera was set to Aperture Priority mode.  Settings were ISO 200, 1/640 second, f4.8.  Images were shot at 5 frames per second.

(The third image in this series appears to have a different color saturation, but the original image before upload did not have this issue.  It seems that the upload to the blog changed the tonality.  Not sure how or why this happened.)


Here's where I was sitting... 2nd row behind home plate!


Followup To A Past Post on Undercover Boss - Season Two Episode 7 - Chicago Cubs & Rocco Caputo


Back in 2007, I photographed Rocco Caputo as he was selling beer at Wrigley Field.  I did not know him, nor would I know that later in 2010, he would be part of the television show, "Undercover Boss". Today, I was lucky enough to go back to Wrigley field to watch the Chicago Cubs defeat the Atlanta Braves 5-4 and to run into Rocco once again!

My wife, daughter, my friend Andy and I were seated in the Dugout section of the park just one row back from the field.  This was the closest I had ever been at a game!  Thanks to my wife's employer for providing us great seats!

As he normally does, Rocco was out selling beer. I had never spoken to him before, but I immediately recognized him.  In addition, someone in the row behind us recognized him as well as being one of the guys featured on Undercover Boss!  I chimed in and told Rocco that I had photographed him years before he was on the show and that I recognized him immediately when I saw him on the show!  He sold a beer to Andy and off he went.

Later in the game, I told Andy that I had to get another shot of Rocco to update my blog, so Andy ordered another beer from him so that I could get my shot.  Andy wanted me to tell you all that it cost him $8 for me to get that shot!

It was great to finally talk to Rocco.  I gave him my business card, but doubt he will be able to find my blog as it is not on the Balanced Exposure website.  I may post a quick update in the About Us section with my blog address... hoping that Rocco sees it.

Rocco, if you see this post, please send me an email at training@balancedexposure.com to let me know you saw it!

For your convenience, I've republished the blog post below from Nov 7, 2010.

If you subscribe to NetFlix, search for Undercover Boss.  You'll find the Cubs episode there.

________________________________________

(From November 7, 2010)


Like many other Cub fans and television viewers, I tuned in to watch Sunday night's episode of Undercover Boss on CBS.  Episode 7 of Season Two featured Todd Ricketts, one of the owners of the Chicago Cubs as he went undercover to see how employees of the Cubs organization did their everyday job.

One of the featured employees teaching Ricketts how to do his job was a food vendor named Rocco Caputo.  The second I saw him on the TV screen, I knew immediately that I had taken his photograph back in July 2007.  I was attending a Cubs vs. Astro game at Wrigley Field and as I normally do, I was taking photos of everything that happened at the game and that included food vendors!  I don't know what triggered me to remember his face, but I immediately knew that my photograph was of Rocco.  I did not post his photo on my blog at the time, but I still remembered his face.  You can see that post by clicking here.

Rocco was assigned to teach Todd Ricketts the ropes of how to sell hot dogs.  Despite his best efforts, Ricketts failed at selling hot dogs and actually threw away four of them just so he could go back and claim he sold all his hot dogs.  But Rocco found four hot dogs that were thrown into a trash bin and confronted Ricketts about them.  Ricketts denied it was his hot dogs, but you could tell Rocco did not believe him.  Since he could not prove it belonged to Ricketts, he had to take him at his word.

Later, after Ricketts identified himself to Rocco as one of the owners of the team, he awarded Rocco the first "Wrigley Field - Employee of the Year Award" for his dedicated work.  Now his name will forever be in the hallowed halls of Wrigley Field.  I remember watching Rocco working in 2007 and at that time he was selling beer.  I recall thinking to myself that selling beer had to be one of the hardest jobs for a food vendor because beer is pretty heavy to have to carry all day long.  Maybe that's why I remembered Rocco's face after all these years!

Congratulations to Rocco for his award for 2010.  I wonder if anyone will remember him when they ask him for food at Wrigley Field in 2011 after having watched this episode.  I hope they do.  I know I remembered him and that's even before this show aired.

Be sure to click on the image for a closer look.

___________________________

Here's where I was sitting for the July 11th game... second row behind home plate!

Thursday, July 10, 2014

Moon Shot

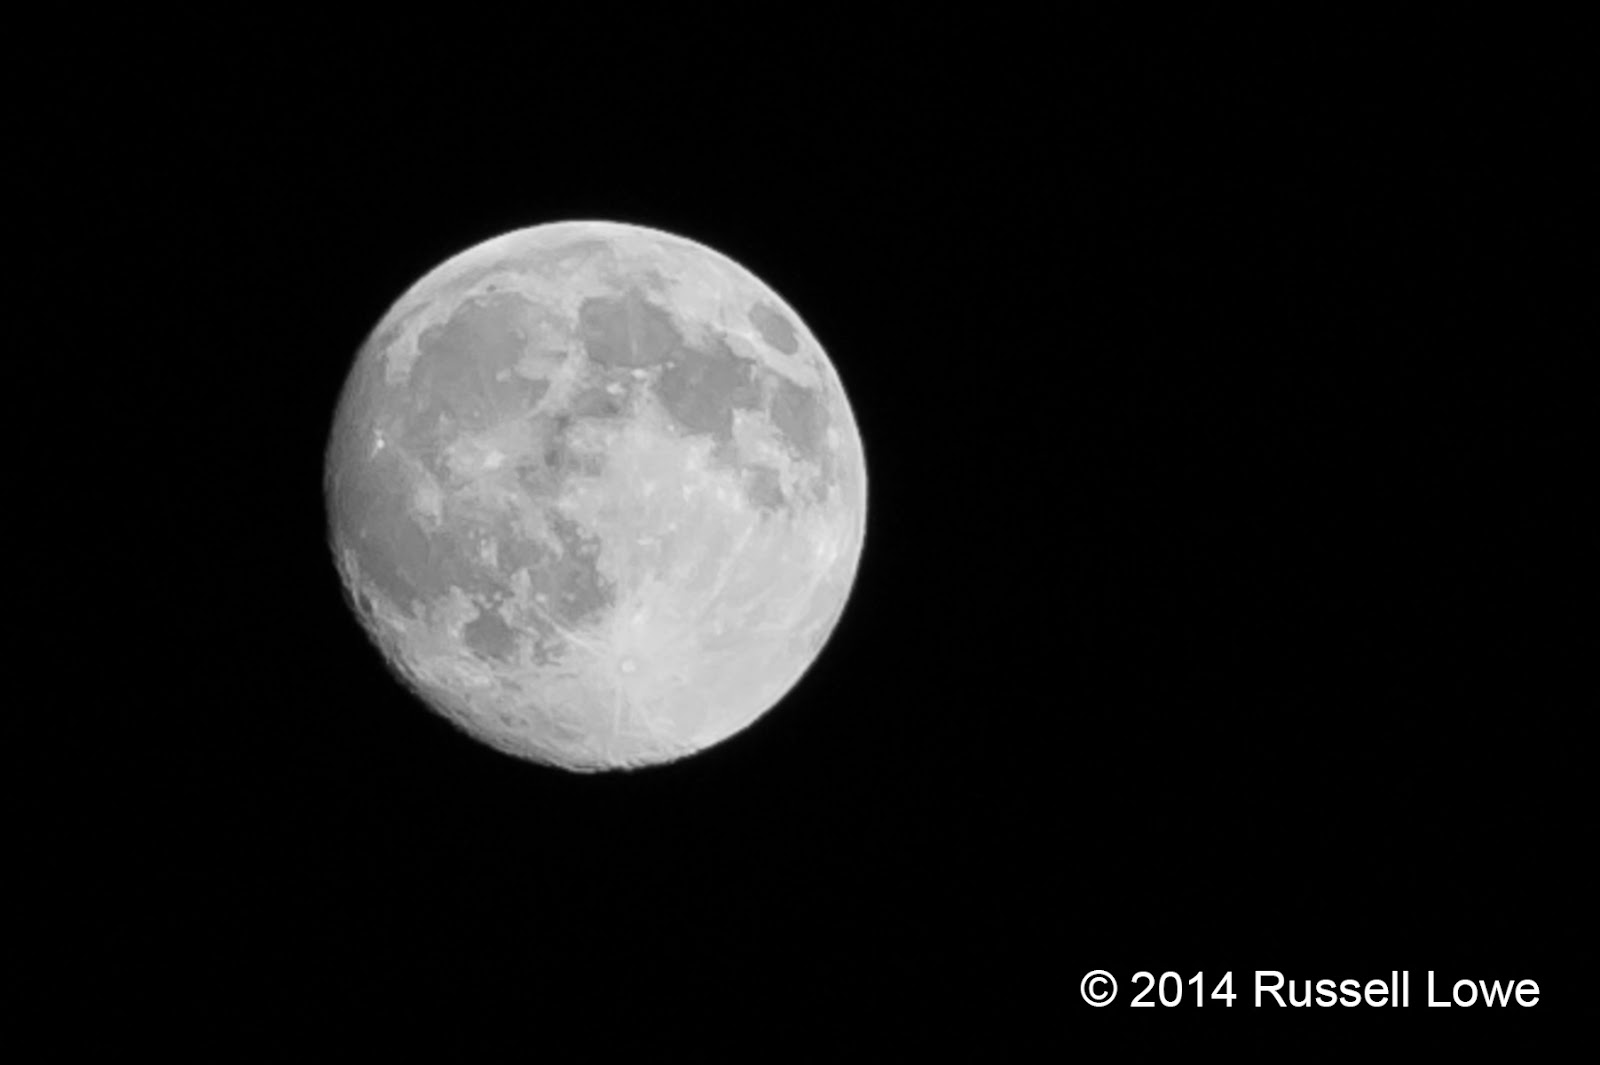
Tonight, I held a great "Exposure" class at my school, Balanced Exposure.  One of the students mentioned that we had a great moon tonight, so I told everyone to go out and take a photo of the moon based on what we learned tonight.

Here's my version of the moon shot.  Nikon D700 / Nikon 70-200mm f2.8 VRII


Thursday, June 19, 2014

Alternative Lens For Full Frame Cameras - Sigma 24-105mm f4 DG


The new Sigma 24-105mm f4 DG lens is part of the new "Art" Series lenses from Sigma.

For many years, I had been using the Nikon 24-70mm f2.8 lens as my main lens for all of my full-frame cameras.  But I decided to try out a less expensive option to see if these new lenses could compete with the Nikon lens which is often considered the best lens in its focal range.

While the Sigma is not better than the Nikon 24-70mm f2.8, it comes very close.  And at its price, you can't ignore it.  The Nikon sells for $1889.95 whereas the Sigma is $899.  At nearly $1000 difference, it would be very tempting for many photographers to consider.

My copy of the Sigma proved to be a very sharp lens!  But that's not to say it is sharper than the Nikon.

Here are the pros and cons:

Pros:
Significantly lower price
Overall, very sharp lens
High build quality
Slightly shorter in physical length than the Nikon
Constant aperture
Longer reach at 105mm instead of 70mm on the Nikon
Optical Stabilization for up to 3 times better "hand-holdability"

Cons:
Vignetting at the corners (all lenses typically have some of this however)
Not as sharp at the corners compared to the center
Not weather sealed
Zoom ring is not in the same position as Nikon... it is closer to the front element rather than the rear element.
Manual Focus ring is rather small
Slower Auto Focus than the Nikon
Maximum aperture of f 4.0 rather than f 2.8
Slight chromatic aberration, especially in the wide angle focal lengths
More prone to lens flare than the Nikon
Heavy lens, almost as heavy as the Nikon

Even with all the cons (all lenses have cons!), I'd still highly recommend this lens for someone just starting out with a Full Frame camera or for someone with an APS-C camera and considering getting a full frame camera down the road.  It's a sharp lens overall and with its Optical Stabilization circuit, you can hand hold a 105mm shot at 1/15 second without much problems!  This helps make up for the f 4.0 maximum aperture when shooting in lower light.

Give this lens a try.  Even compared to Canon's 24-105mm f 4.0 "L" series lens, other reviewers are saying it is better for Canon users.

Monday, May 19, 2014

Took Four Years To Fix This Wall

Back in April 2010, I accidentally put my head through the wall in my bedroom.  Four years later, I finally fixed the hole (in the wall, not my head).

Click here for the story of how the hole got there in the first place:


Thursday, April 24, 2014

Crime Scene Processing Class 04-24-14

The Balanced Exposure Crime Scene Processing Class was held this evening.  Students learned what was involved to process a staged homicide.

Jessica, my model for several years, did her own makeup.  Rather gruesome, don't you think?

Students had the opportunity to photograph the crime scene and also to dust for latent prints on various pieces of physical evidence.  Overall, it was a lot of fun for everyone!


Tuesday, March 25, 2014

Chicago Bulls vs Indiana Pacers - 89 to 77 -3/24/14

Bulls win 89 to 77!

Here are some of my images taken at the United Center with a Nikon D4s and Nikon 70-200mm f2.8 VR lens.  Manual setting, 1/250 to 1/320 second, f2.8, Auto IS0.


Monday, March 10, 2014

Nikon D4s - ISO Test Photos


I received my Nikon D4s today.  It was shipped by B&H Photo on the very day that Nikon authorized dealers to begin shipping.  That makes me one of the first users in the United States to get a Nikon D4s!  Because I am a Nikon Professional Services member (NPS), I am lucky enough to get a few perks that consumers don't get... one of which is receiving professional cameras before non-NPS members!

The main reason I wanted to upgrade my Nikon D4 to the D4s was to move from the highest native ISO on a D4 from ISO 12800 to the D4s' highest native ISO which is ISO 25600.  The Nikon D4 has been known to be one of the best "high ISO" performers on the market.  While it may be only a 16MP camera, there's a reason it's only 16MP compared to all the other higher megapixel cameras from Nikon.  It does high ISO better than any other Nikon camera.  The D4s pushes this one EV even more!

I also wanted to get to use the new Auto ISO for Manual Mode.  This will allow me to choose my shutter speed and aperture and let the camera choose the corresponding ISO to match.  I think they should call this ability, "Manual Priority Mode!"

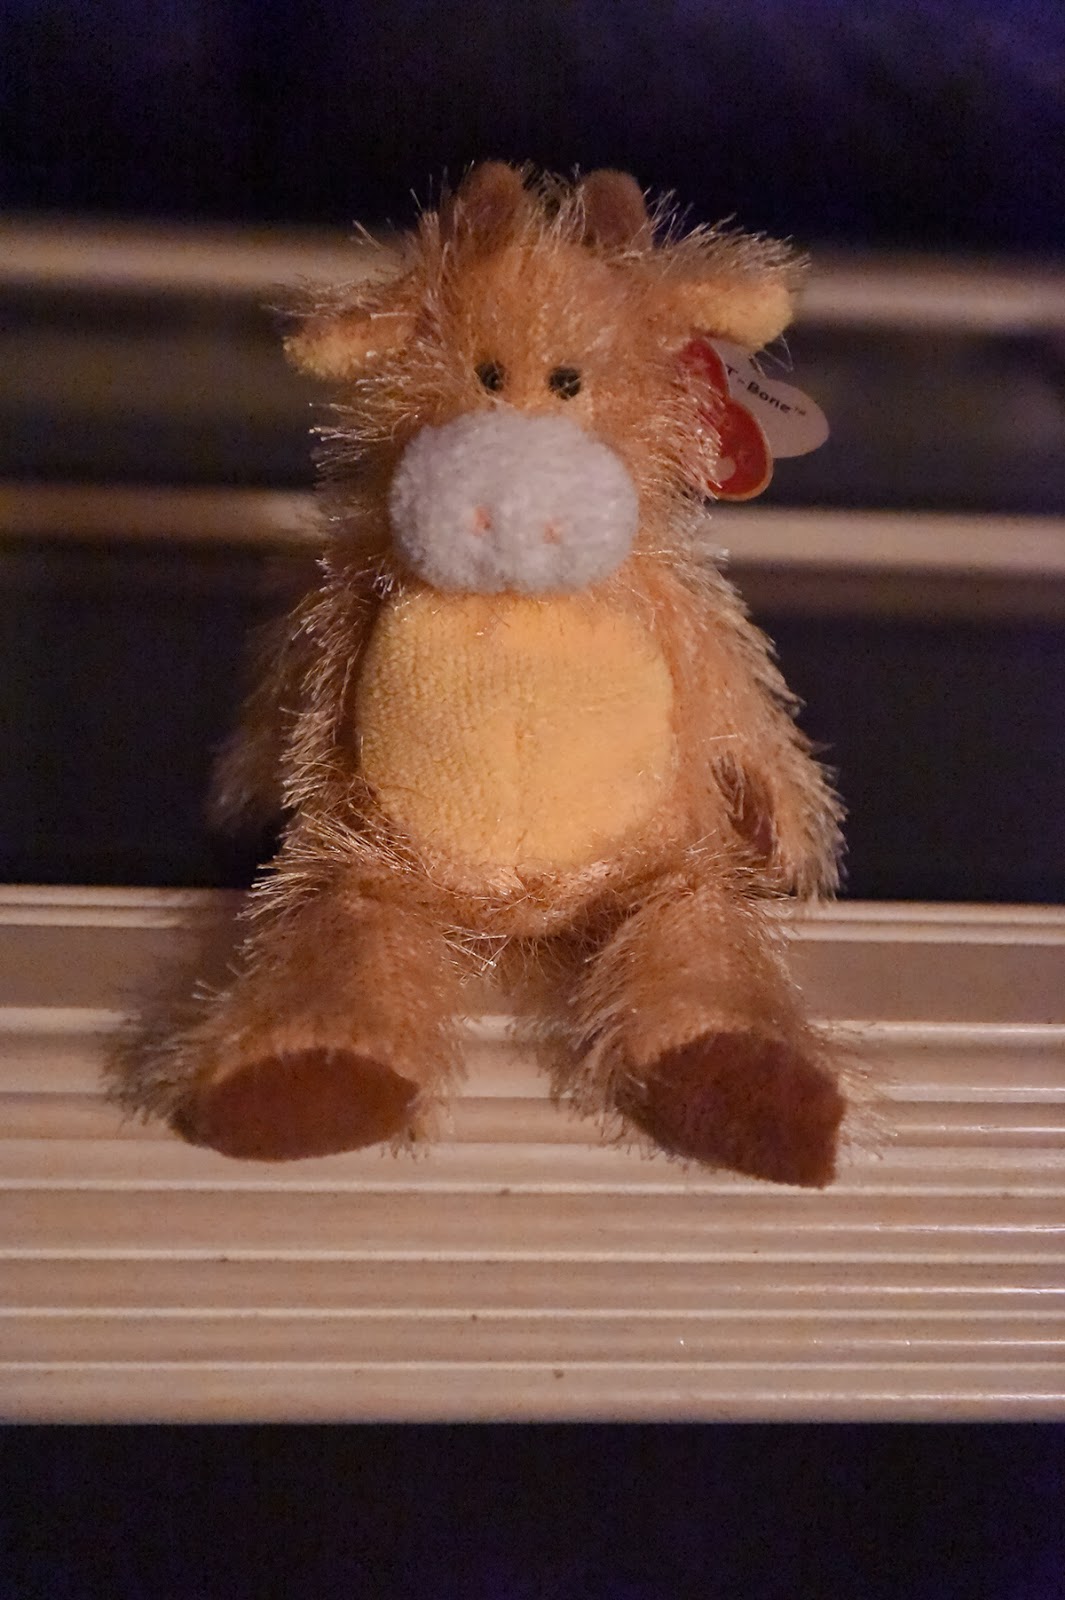
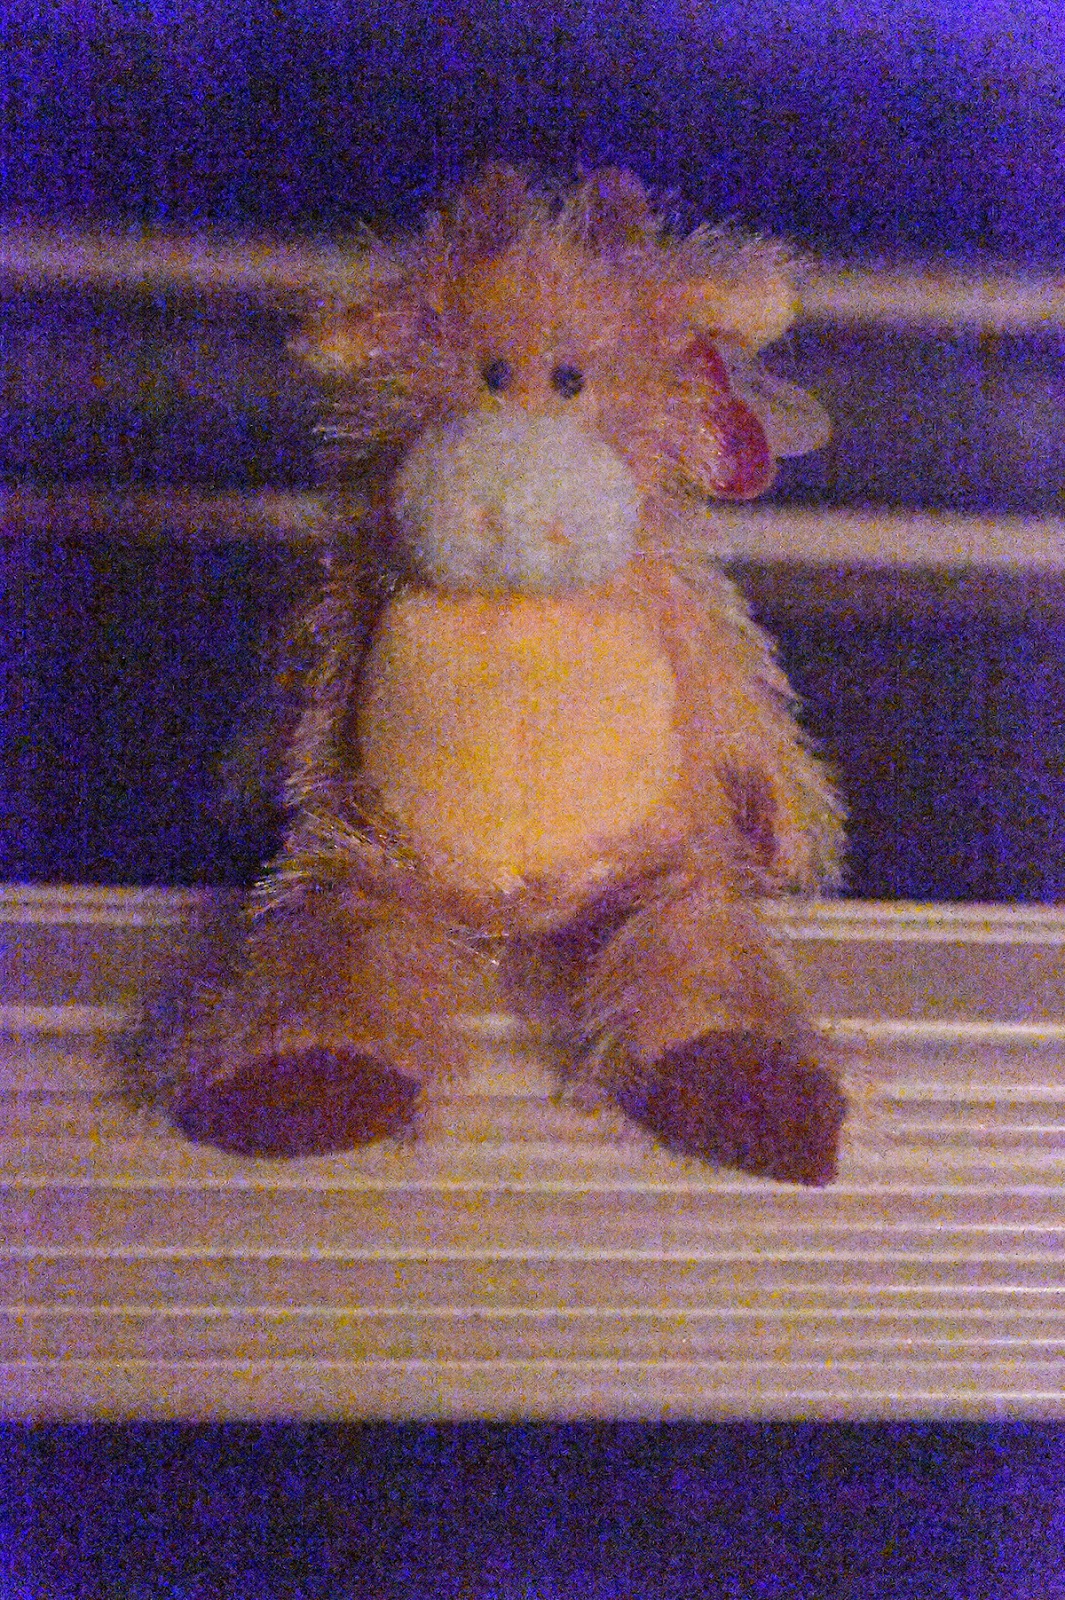
I've posted 4"x6" downsized JPG images at a resolution of 300 ppi.  The test images were downsized so that they would easier to upload them to the blog and easier for viewers to download from the blog.  A doorway entrance light with three very small 25 watt bulbs illuminated the "Beanie Baby" test subject sitting on the edge of my living room's coffee table about 10 feet away.  Having taken these test images so late at night, the Beanie Baby was the only available model!

The images were taken on Aperture Priority mode with the following equipment: Nikon D4s camera, Nikon 24-70mm f2.8 lens set at at 70 mm and f2.8.  The camera was mounted on a Slik tripod.  The images were taken on Large size and "Fine" resolution JPG image settings.  The high ISO noise reduction menu setting on the camera was set at "high."

To download the images for a closer look, simply right click on the images and choose "save image as."

ISO 800

ISO 1600

ISO 3200
 

ISO 6400

ISO 12,800
 

ISO 25,600

ISO 51,200
 

ISO 102,400
 

ISO  204,800

ISO 409,600
 

The native ISO settings up to and including ISO 25,600 are quite acceptable images.  The high ISO settings above 25,600 (High 1, High 2, High 3 and High 4) have the most noticeable color noise.  I call these ISO options, "surveillance ISO's" because the only users who would realistically want to use setting this high might be law enforcement personnel.

I chose to photograph the image in very low light with large/fine JPG settings as this is a typical way users might set their cameras.  RAW images might yield a better performance, but the idea behind these tests were to see the worst case scenario.   I also chose to photograph the image with a darkened room as the background as this would allow the noise to be more easily seen.  Low light capture is the best way to test out high ISO rather than using bright light to test ISO settings, so don't be fooled by looking at test images that have been taken with bright light at high ISO's.  In my opinion, it's not sensible to evaluate a camera's true ISO capability that way.

Wednesday, January 29, 2014

New Crime Scene Processing Class at Balanced Exposure


I'm excited about a new class I'm offering at Balanced Exposure... Intro to Crime Scene Processing!

Students all know that I had worked in Law Enforcement in the past and that I have an Evidence Technician background.  I'm also a court-qualified expert witness in both Forensic Photography and Forensic Audio since 1990.

I figured with the popularity of TV shows like CSI, there might be some students who might like to try their hand at processing a mock crime scene... just like I did both in real life and when I was in college study for my degree in Evidence Technology.  Well, I was right!  Plenty of students have signed up for the class and will try their hand at dusting for fingerprints, collecting physical evidence and photographing it too.

All of the supplies for the class arrived today and I've been having fun dusting for prints.  I've processed plenty of items of evidence in the past.  It sure brings back good memories of the things I used to do.  I'm looking forward to sharing that experience with my students!

Monday, January 13, 2014

Medieval Times - 1-12-14

I had a chance to visit Medieval Times yesterday to take some promotional photos for my upcoming field trip classes to the castle in February and March.  Our knight was the red/yellow knight who  won the final fight sequence!

This is not an easy photo shoot!  It will challenge my students in terms of their ability to figure out good exposures and also their abilities to focus manually.  Lots of movement to shoot, varying lighting conditions and other things to watch out for.

During the hand-to-hand fight sequences, a tightly knit net is brought up to protect the audience.  Trying to photograph anything through this using auto-focus is next to impossible.  Manual focus is the way to do it!

I'm looking forward to seeing how well my students do at this show.  Come join me in February and March for the field trips!  To read more about the photo field trips, click here.